I wouldn’t call myself, “crafty” but with the Cricut Maker at my side, I’ve found a few things that turn out REALLY well — making me love that machine. Here’s five things I love about it!:
This is a sponsored conversation written by me on behalf of Cricut. The opinions and text are all mine.
Things I Love About the Cricut Maker
The Cricut Maker Cuts many types of materials
While I started off with another crafting machine, once I got my Maker I was thrilled with ALL the different ways it could cut.
- Felt
- Sticker Paper
- Vinyl of varying sizes
- Balsa/BassWood
- Paper
- Cardstock
- Leather
It just makes it SO versatile. Plus, with the new tools that they are coming out with, it can do more and more!
The Cricut Maker Makes Clean Cuts
Because all of the pressure and cutting is automated by your connection to the machine (vs adjusting it mechanically like I did with my other machine) it seems SO simple to get the cut just right.
Mind you, when you use Cricut products that makes it easier, but I know that a lot of other companies give guidelines on how to set the maker so that you can cut right on their product as well!
The Cricut Maker Personalizes Things Easily
I love that when my kids want something made “their own” I can easily do so with my Cricut. You might remember the water bottle I figured every kid in the class would have…. and how I fixed that easily (vinyl is still on btw).
The Cricut Maker Provides Professional-Looking Results
One of my LEAST favorite feelings is to spend a ton of time on a craft, only to find that it looks horrible and you’ve wasted not only the money for the supplies but the time and effort.
With the Cricut, I have always had good results.
Yes, sometimes I have to adjust and figure things out (you see that a lot in my videos), but you can do that and still see success!
The Cricut Maker Makes Crafting With My Kids Easier
My kids love to craft, and I love all the responsibility it teaches them. Lots of good life skills.
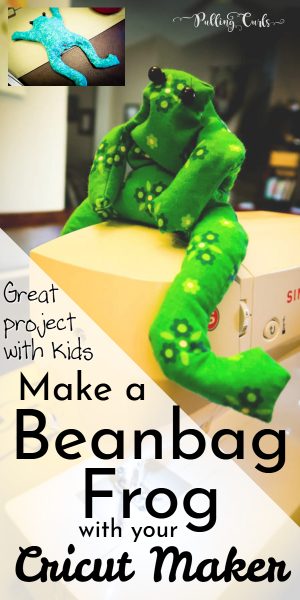
This past weekend we made some beanbag frogs (we actually used rice as I like how it feels better).
I use this pattern (we made that, so you are welcome to use it too)
Apply fabric (remove any wrinkles) to the long fabric grip mat.
Cut it out using your Cricut Maker
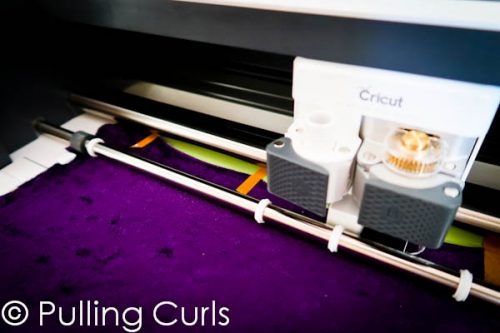
Remove from the mat.
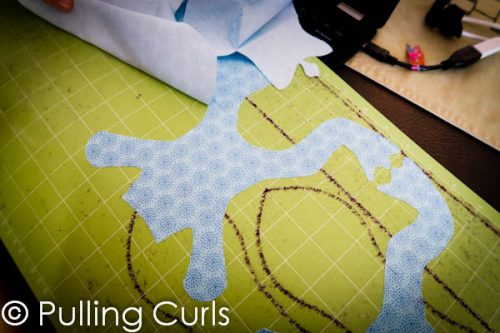
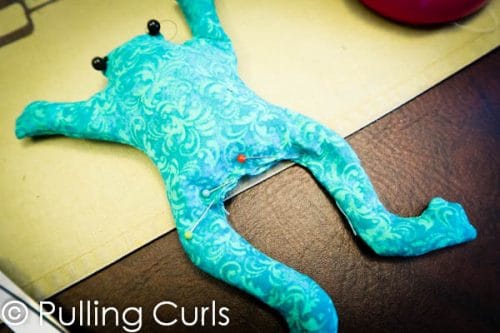
Pin right sides together.
Sew with a small seam allowance (I did 3/8, I probably should’ve gone to 5/8). Be sure to leave an area between legs open so you can fill it.
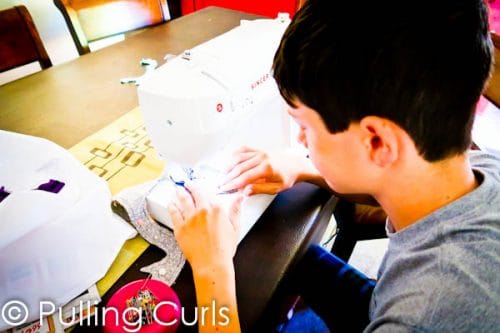
Trim corners and seam allowances. Also cut in at rounded areas so that they turn easier.
Turn right side out (we used chopsticks to help turn it easier).
Sew on eyes (they can either go on top of the frog’s head, or at the ends) — we used small bead-like buttons).
Fill with rice. We used the top of an old soda bottle to make it easier.
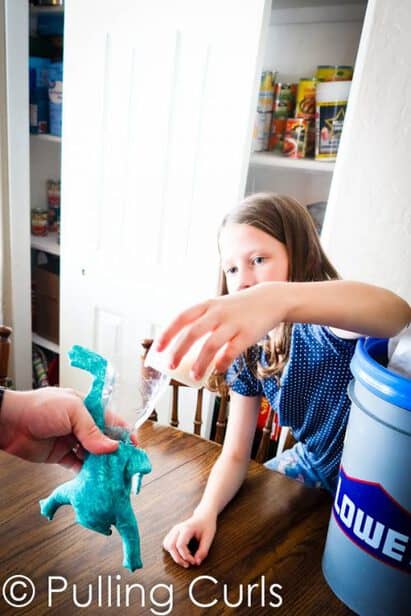
Then, we just closed using a whip stitch but you could do it on your machine or something a bit nicer.
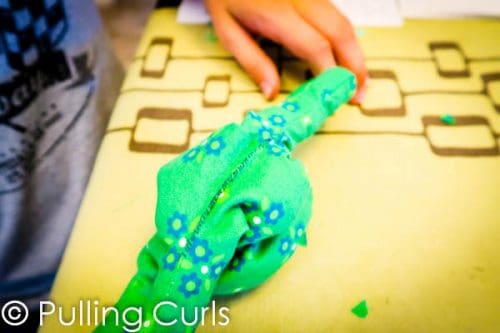
Then, love that frog like a member of your family.
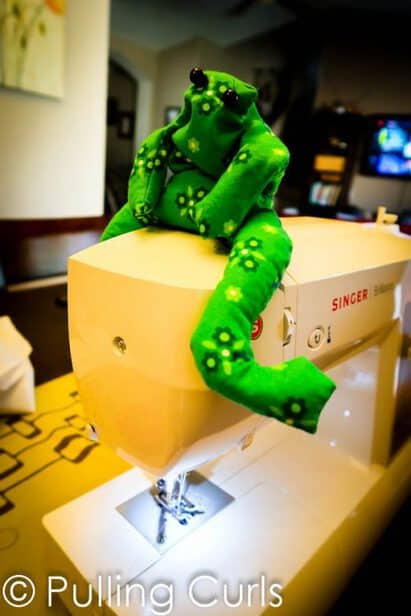
My kids were THRILLED with this craft,and I was really happy that they learned a variety of things:
- My son helped me design it, which was great. He’s very into animation, so it was a win.
- Sewing buttons on (a great skill to have)
- While I sewed quite a bit of it (it was hard with all the curves) they each did a little, which was really cool. Plus, they learned “right sides together” and we got to talk about why that is true.
- How to do a whip stitch to close something.
- Pride in a job done!
Honestly, they both love the project, and while we totally could’ve cut this out on our own, with all the curves, the Maker was a total win.
If you liked this post — sign up to see my future Cricut posts, and check out the rest of them below that:
[pt_view id=”deca5f5rkq”]



Leave a Reply